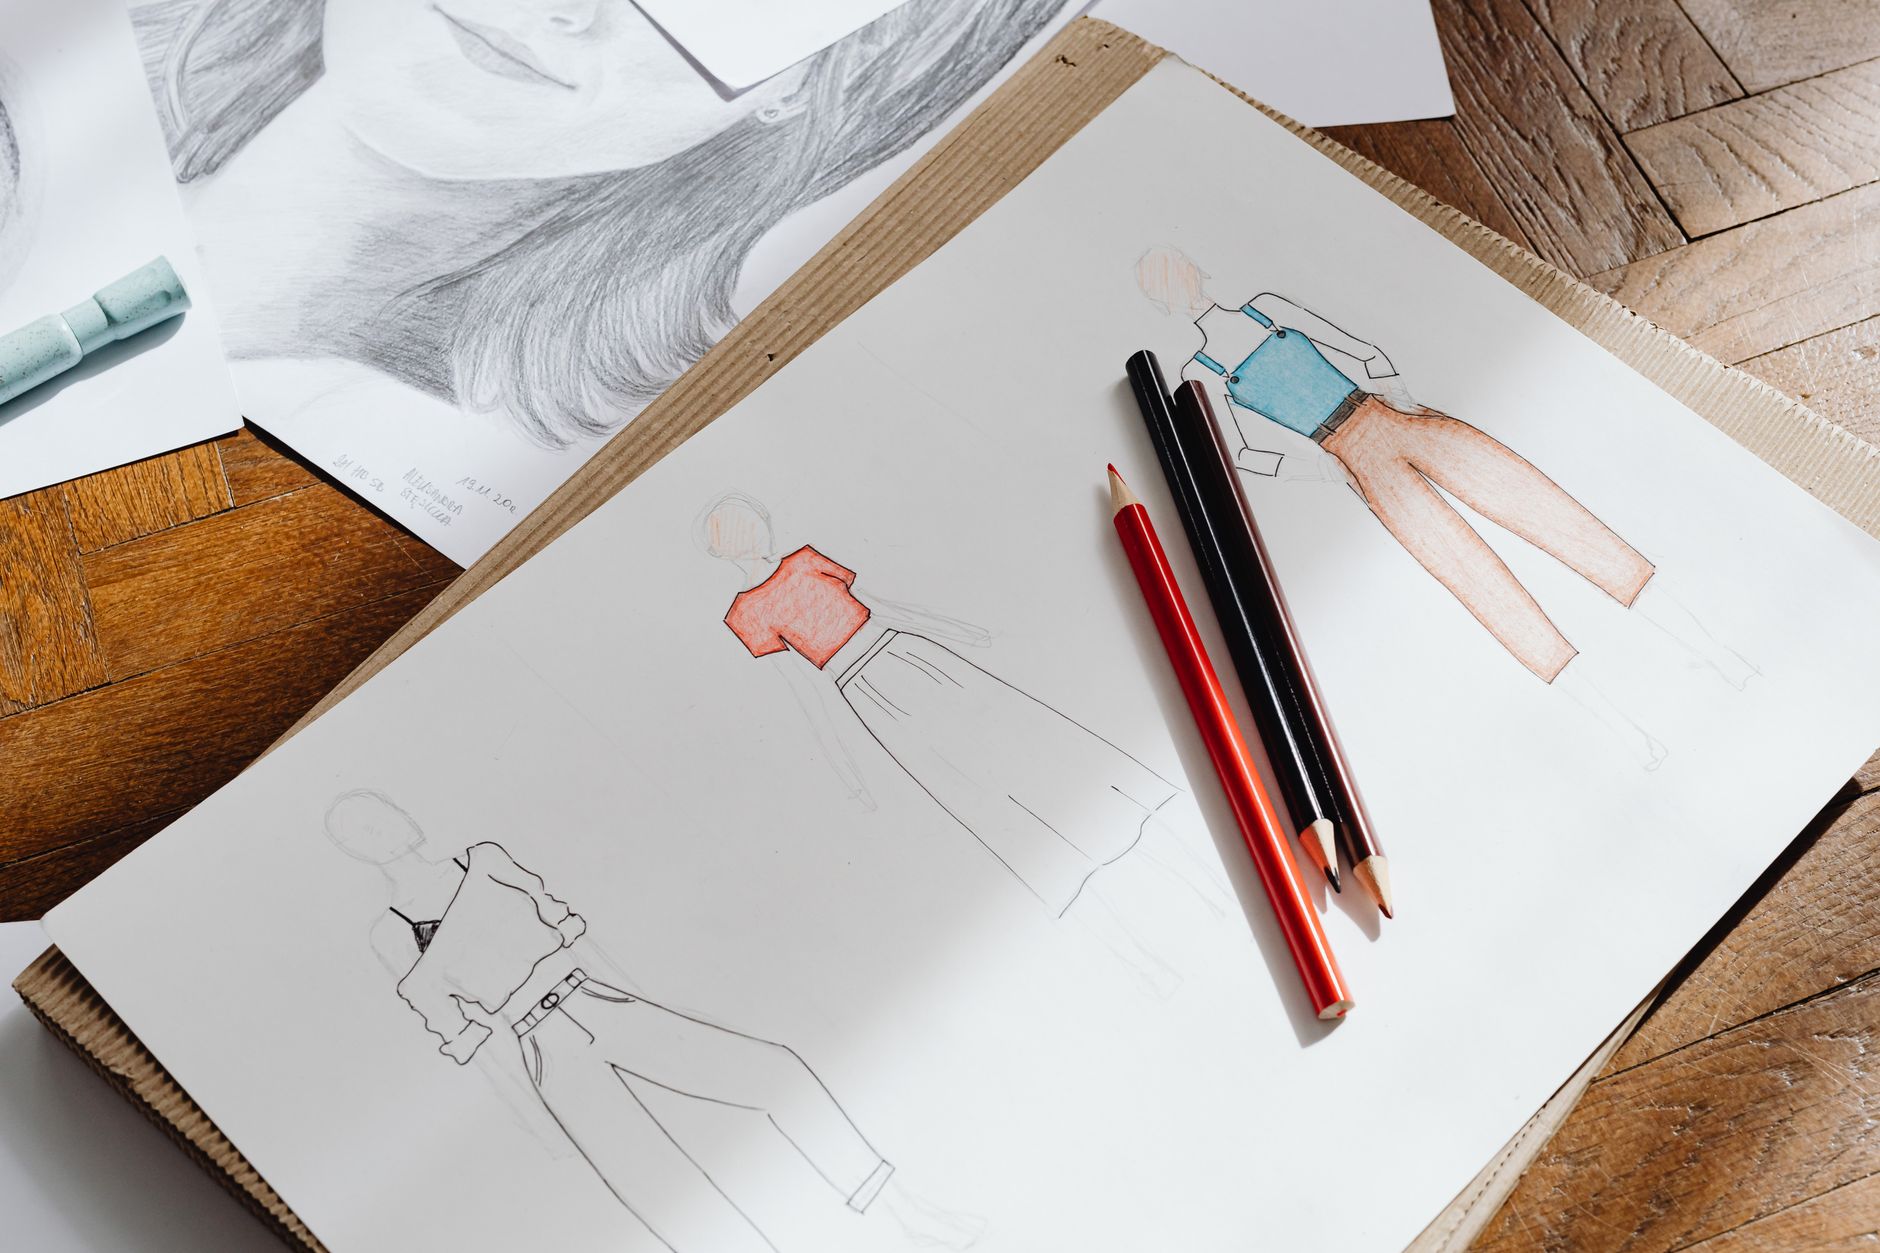
When I started learning fashion model drawing, I was shocked to realize that the figures we try to replicate aren’t even close to human proportions. A real adult’s body is about 7.5 heads tall, while fashion figures can stretch to 9 or even 10 heads in some runway sketches. This choice was made way back in the 1920s at Parisian ateliers when croquis templates became standard. It really changed the whole game of fashion illustration.
Let’s explore this with a simple example: an evening-wear sketch, something a first-semester student at Parsons or Central Saint Martins would tackle in a foundation class. We’ll take it from a blank sheet of paper to a finished silk gown. The whole process is about knowing the rules, not raw talent.
The 9-Head Fashion Rule
To begin, draw a vertical line and split it into nine equal parts, each segment matching the height of the model’s head. This structure is the backbone of every fashion model drawing. The head sits in segment one, shoulders just below segment two, waist at segment three, and hips at segment four. The legs take up five head-lengths, making them about 60% of the total figure height. This is where that iconic elongation comes from.
In reality, legs are closer to 45% of a person’s height. But with a fashion figure, this gap is intentionally exaggerated. Why? Because garments drape differently on a stretched silhouette, and honestly, long legs just photograph better. For our evening-wear sketch, the gown’s hemline will touch the ground at segment nine, meaning the skirt covers nearly four head-lengths. Compress those legs, and the gown instantly looks stumpy.
Typically, a croquis is drawn with a slight S-curve stance. One hip drops, and the weight shifts onto one leg. Keep those shoulders narrower than you want to instinctively; fashion shoulders measure about two head-widths across, rather than three, which you’d use for a realistic figure. Also, the neck is longer, coming in at roughly one full head-length.
Beginner Tools and Setup
To start, you don’t need much. For traditional media, a 2B pencil works great for line work, while a 4B pencil is perfect for soft shading on fabrics. Marker paper, or bleed-proof paper, lets you use alcohol markers without any color bleeding through. A basic starter kit, with two or three Copic or Prismacolor markers, a pad of marker paper, and those pencils, runs about $15 to $25 if you’re savvy. That’s really all you need to create a solid croquis.
Digital tools are a bit different. Procreate on iPad is a one-time purchase at $12.99, and it covers everything from sketching to fabric rendering. Adobe Fresco offers a free tier that works for beginners, but the better brushes are behind a Creative Cloud plan. From what I’ve seen, Procreate is dominating student work right now. The undo button alone is a lifesaver, especially when figuring out how the 9-head grid feels to draw.
For our evening-wear sketch, I’d go with Procreate. Set up a grid layer and lock it, then sketch the croquis on a layer above. This way, you can adjust the figure without messing with your proportional guide. One downside is that working digitally can lead you to rely too heavily on symmetry tools. A touch of hand-drawn asymmetry in shoulders and hips really improves the look.
Rendering Fabric and Finishing Touches
Many beginners hit a snag here. The figure can look perfect, and then the fabric rendering just falls flat. Silk, denim, and knit each behave differently on the body, and that needs to show in your line weight.
Silk catches light sharply and calls for thin, fluid lines with high-contrast highlights, almost white against a darker shadow. For that evening gown, apply shading in gathered areas near the waist and where the fabric pools at the hem. Don’t forget to leave a hard-edged white strip along the hip where the fabric is tightest.
Denim is a whole other story. It’s heavy and matte, requiring thicker outlines and hatched shadow that stays lighter. Knit, on the other hand, stretches and sags, so the lines must follow the body’s curves, creating soft rounded shadows instead of sharp ones. For a single garment in a fashion model drawing, say, a silk bodice and a denim waistband, you might end up using two or three different techniques.
Finish your sketch by slightly darkening the outer contour line. This technique, called line variation, helps separate the figure from the background and adds weight to the overall image. Keep the face minimal—just eyes and a hint of lips, nothing too elaborate. Fashion illustration faces are meant to be spare.
Next Steps in Learning
Fashion model drawing really revolves around a set of rules that build on each other. Once you get the hang of the 9-head proportion, fabric rendering starts to click. At that point, tool choice becomes more about personal preference than guesswork. I’d suggest filling an entire sketchbook—around 30 to 40 croquis—before stressing over style or specialization. You’ll find your opinions about what works, and that’s way more valuable than any single tutorial.
FAQs
How do you draw a fashion model step by step?
Split a vertical line into nine equal head-height segments, mark the body landmarks, sketch the S-curve pose, and then layer fabric rendering once the figure looks solid.
What proportions do fashion designers use when drawing figures?
Fashion figures usually measure 9 to 10 heads tall, with legs making up about 60% of total height, while realistic proportions are around 7.5 heads.
Is Procreate good for fashion illustration?
Definitely. At $12.99, it’s a cost-effective tool that handles everything from initial croquis sketching to detailed fabric rendering exceptionally well.